Design QA tools compare what was designed in Figma against what actually rendered in the browser. The main options in 2026 fall into three categories: overlay tools like PerfectPixel and Pixelay that layer the design on top of the live page for visual scanning, pixel-based regression tools like Percy and Chromatic that screenshot and diff builds in CI, and property-level comparison tools like Uiprobe that read CSS values from the page and compare them directly against Figma design properties. Each approach catches different things. Overlay tools are fast but rely on your eyes. Pixel diffs catch regressions but cannot explain what changed. Property-level tools surface specific differences (wrong font weight, 4px spacing deviation) but depend on element mapping quality.
Most teams still verify Figma fidelity by eyeballing it. Tab back and forth, squint at spacing, paste hex codes into a color picker. It works until it doesn't, which is usually when a reviewer catches something you missed.
This guide covers all three approaches, explains what each one catches and misses, and recommends tools for each. If you are a frontend developer, QA engineer, or designer who reviews implementations, this will help you pick the right approach for your workflow.
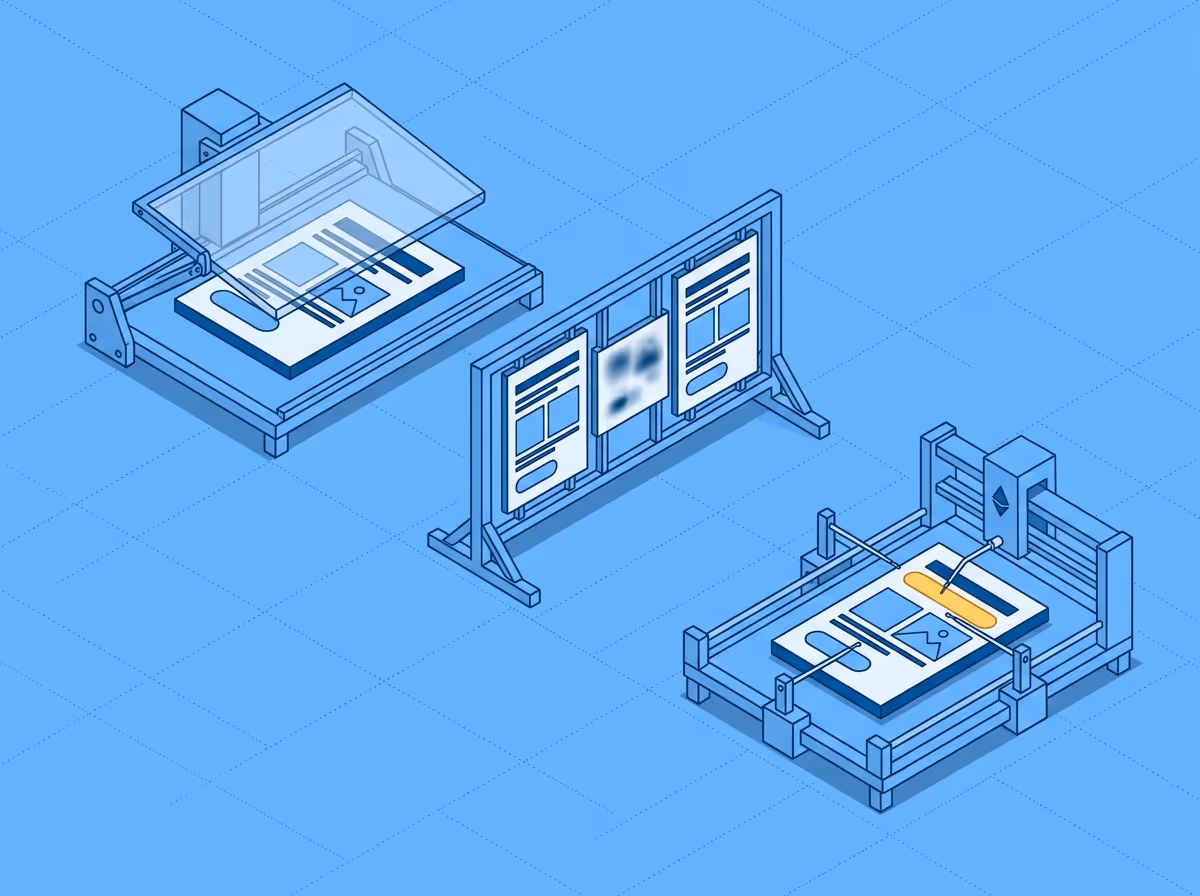
Every tool in this category does some version of the same thing: hold the design up against the implementation and surface the differences. But how they detect those differences determines what they can and cannot find.
How a tool detects differences matters more than whether it detects them. An overlay that requires you to spot the problem is fundamentally different from a tool that tells you exactly what is off.
The oldest approach. A browser extension renders the Figma frame as a semi-transparent layer on top of the live page. You adjust opacity and visually scan for misalignment.
What it catches: Layout shifts, major spacing problems, obviously wrong colors or font sizes. Anything you can see with your eyes when two images are stacked.
What it misses: Subtle property differences that look fine at a glance but are technically wrong. A font weight of 400 vs 500, a line-height of 1.4 vs 1.5, a spacing value that is 4px off. If the difference is not visible at overlay zoom, it slips through. Overlay tools also require manual scanning of the full page, which means the quality of the review depends entirely on how carefully the reviewer looks.
Best for: Quick visual sanity checks during development. Especially useful early in the build when layout is still being roughed out and you want to confirm the general structure.
These tools capture screenshots of the live page and the design (or a previous build), then run a pixel-level diff to highlight areas where the images diverge. The output is a heatmap showing which regions changed.
What it catches: Any visual change between two states, including subtle rendering differences across browsers. Strong at catching regressions between builds.
What it misses: Pixel diffs cannot explain what changed. A red patch on a heatmap tells you something is different in that area but not whether the problem is a wrong font, incorrect spacing, or a color mismatch. You still need to inspect manually to understand the finding. Pixel diffs are also sensitive to rendering artifacts, anti-aliasing, and sub-pixel shifts, which produce false positives.
Best for: CI/CD pipelines where you want to catch unintended visual changes between deployments. Less useful for comparing a design against an implementation, because the design file and the browser render are never pixel-identical even when the implementation is correct.
A newer approach. Instead of comparing images, property-level tools read the actual CSS values from the live page and the design properties from Figma, then compare them directly. Typography (font family, size, weight, line-height, letter spacing), colors (fill, border, text), spacing (margins, padding, gaps), and sizing (width, height) are checked at the element level.
What it catches: Every measurable property difference between design and implementation, including subtle ones that overlay and pixel-diff approaches miss. A 1px spacing deviation, a wrong font weight, an incorrect border radius. The output is specific: which element, which property, what the design specified, what the page actually rendered.
What it misses: Property-level comparison works on elements it can map between Figma and the DOM. Complex animations, dynamic content that changes between renders, and elements that don't have a clear Figma equivalent may fall outside the comparison scope. Coverage depends on how well the tool's mapping engine handles real-world page complexity.
Best for: Detailed QA reviews where you need to verify that every property reflects the design. Reduces review time because the tool surfaces specific, actionable findings instead of asking you to spot differences visually.
PerfectPixel is the most widely installed overlay extension. Free, simple, works with any image file. Its limitation is that it requires you to export a screenshot from Figma and manually upload it to the extension for each comparison. No live Figma connection.
Pixelay connects directly to Figma and offers multiple comparison modes (overlay, side-by-side, difference blend). More capable than PerfectPixel for Figma-centric workflows. Free tier covers mobile viewports; Pro from $20/month.
Over.fig is a newer overlay extension that also connects to Figma. It combines overlay comparison with CSS inspection and measurements. Positioned for frontend developers who want both the visual overlay and access to element values.
Percy (BrowserStack) captures screenshots across multiple browsers on every pull request and diffs them against approved baselines. Built for CI/CD integration. Smart diffing handles anti-aliasing noise. Free tier available; paid plans from around $399/month.
Chromatic takes a similar approach but at the component level through Storybook. Every story is captured and diffed on every push. Designed for teams using component-driven development. Free up to 5,000 snapshots/month; paid from around $149/month.
Applitools uses AI-assisted diffing to reduce false positives from pixel-level comparison. Cross-browser testing at scale. Enterprise pricing, typically $10K+/year.
Uiprobe reads properties directly from a Figma frame URL and the live page, then compares them element by element. Findings are grouped into properties (typography, style, size, content), spacing, and unverified sections. Each finding shows the expected value from Figma and the actual value from the browser. Works on localhost, staging, and production URLs. Free tier with 10 comparisons per month; Pro at $15/month.
| Tool | Approach | Figma connection | What it detects | Localhost support | Starting price |
|---|---|---|---|---|---|
| PerfectPixel | Overlay | No (manual image upload) | Visual misalignment (manual scanning) | Yes | Free |
| Pixelay | Overlay | Yes (plugin) | Visual misalignment with multiple blend modes | Yes | Free (limited) |
| Over.fig | Overlay | Yes (extension) | Visual misalignment + CSS inspection | Yes | Free |
| Uiprobe | Property-level | Yes (Figma frame URL) | Specific property differences (typography, color, spacing, sizing) | Yes | Free (10/month) |
| Percy | Pixel diff | No | Visual changes between builds | Via test suite | Free tier; ~$399/month |
| Chromatic | Pixel diff | No | Component-level visual changes (Storybook) | Via test suite | Free tier; ~$149/month |
| Applitools | Pixel diff (AI-assisted) | No | Visual changes with reduced false positives | Via test suite | Enterprise pricing |
The right choice depends on what stage of development you are in and what kind of review you need.
During active development, overlay tools are fast and low-friction. They help you confirm that the general layout and visual structure are on track before you get into the details. This is where PerfectPixel and Pixelay work well.
Before code review or design sign-off, property-level comparison catches the subtle differences that overlays miss. If your team cares about typography accuracy, spacing precision, and color fidelity to the design system, this is the stage where a tool like Uiprobe saves the most time. Instead of manually checking CSS values against Figma specs, you get a list of specific findings.
In CI/CD pipelines, pixel-based regression tools protect against unintended changes between builds. Percy and Chromatic prevent visual regressions from merging. They answer a different question ("did something change?") than design comparison tools ("does it reflect the design?"), so they complement rather than replace the earlier stages.
Most teams benefit from at least two approaches. A comparison tool for the design-to-code handoff and a regression tool for ongoing protection.
Percy and Chromatic catch changes between builds. They do not compare against the original Figma design. If a developer implements a component with wrong spacing from the start, Percy will approve it as the baseline and never flag it. A design comparison tool catches the initial drift that regression tools accept as correct.
Most browser-based tools (overlay extensions and property-level comparison tools) work on any URL including localhost. CI-based tools like Percy and Chromatic work with whatever URL your test suite points to. Localhost support matters because catching differences before deploying to staging is faster than catching them after.
Figma Dev Mode shows you what the design specifies. It does not compare those values against what the browser actually rendered. You still need to check manually whether the live page reflects those values. Dev Mode is a handoff tool, not a verification tool.
Design QA answers "does it look like the design?" while regression testing answers "did it change?" Both are useful. They address different problems.
Design QA compares the implementation against the original design specification. Visual regression testing compares the current build against a previous build. Design QA answers "does it look like the design?" while regression testing answers "did it change?" Both are useful; they address different problems.
QA engineers running structured design reviews tend to need tools that produce specific, documented findings rather than visual overlays that require subjective judgment. Property-level comparison tools give them a concrete list of deviations they can verify and report. Overlay tools work better as a quick first pass. The combination of a property-level tool for detailed review and a regression tool in CI covers most QA workflows.
Free to start. No credit card. See your first comparison in under a minute.
The fastest way to see how your implementation compares to the design. No screenshots, no guessing
Compare
© 2026 · Built by UIPROBE
